The Essential Mold Remediation Tools for a Healthier Home

When it comes to mold remediation, having the right tools is the difference between a successful cleanup and a frustrating battle with a stubborn foe. Mold doesn’t just settle; it spreads. And when it comes to removing this uninvited guest, preparation and proper equipment are your best allies. This blog will take you through the essential mold remediation tools, ensuring your fight against mold is as effective (and safe) as possible.
Why Are Mold Remediation Tools Important?
Mold is not just unsightly; it’s a health hazard. Proper tools ensure thorough removal while protecting you and your environment from further contamination. With the right mold remediation equipment, you can:
-> Remove mold efficiently.
-> Prevent mold spores from spreading.
-> Ensure safety for everyone involved.
Top Mold Remediation Tools You Need
1. Personal Protective Equipment (PPE)
Before tackling mold, suit up. PPE includes gloves, goggles, and respirators to shield you from harmful spores. Mold remediation isn’t the time to test your immune system!
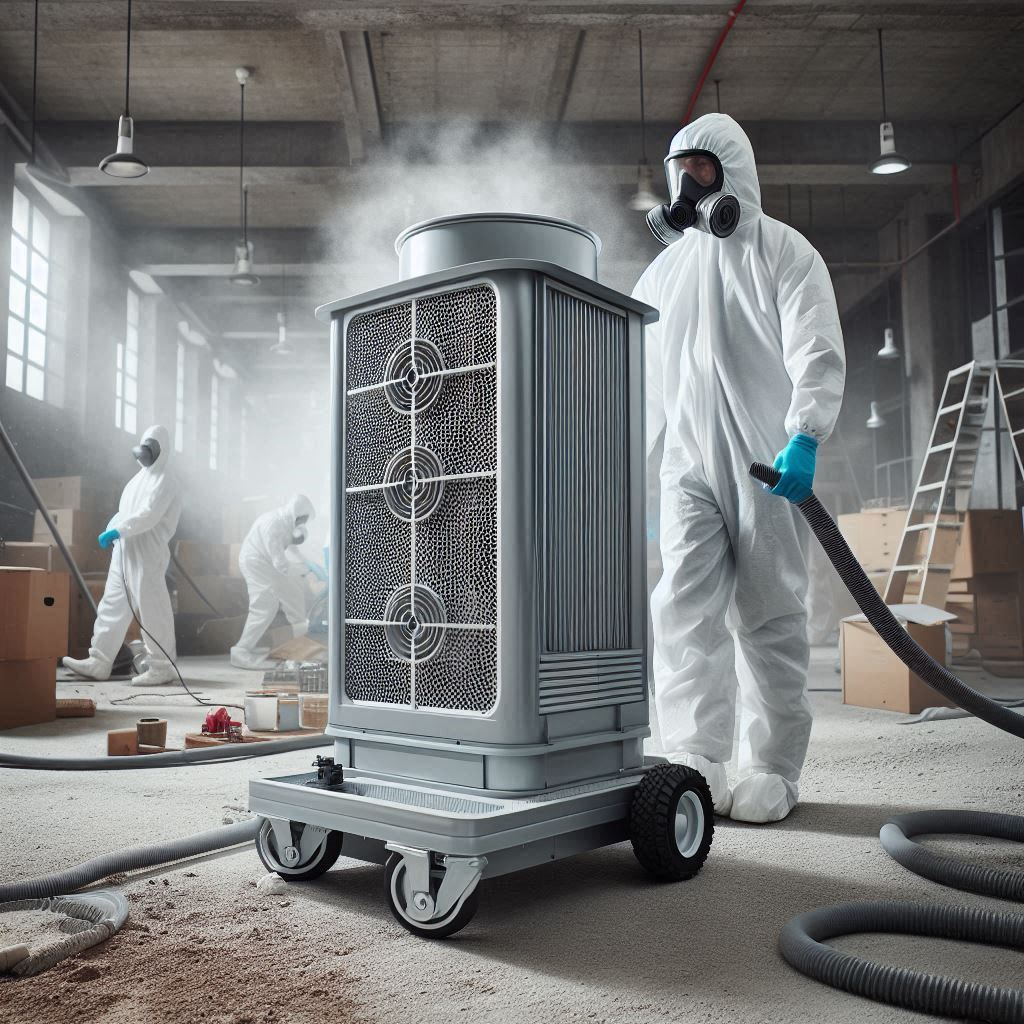
2. Air Filtration Devices
An air scrubber or HEPA filter is crucial for trapping airborne mold spores during cleanup. These devices ensure that what’s floating around doesn’t settle and start the problem anew.

3. Mold Removal Tools
Scrub brushes, putty knives, and even sandpaper are vital for physically removing mold from surfaces. Combine these with effective cleaning agents, and you’ll have the upper hand.
4. Moisture Meters
Mold thrives on moisture, so detecting damp areas is critical. A moisture meter pinpoints where the problem starts, helping you focus your efforts effectively.
5. Mold Remediation Machines
Dehumidifiers and fans are your long-term allies. They keep humidity levels low and help dry out affected areas, ensuring mold doesn’t make a comeback.
Mold Cleaning Products and Supplies
The Power of Non-Toxic Solutions
Eco-friendly cleaning products like vinegar, hydrogen peroxide, and specialized mold sprays can work wonders. They’re not only effective but also safe for your home and the planet.
Mold Abatement Supplies
From heavy-duty plastic sheeting to seal off contaminated areas to negative air pressure machines to contain spores, these supplies help you tackle large-scale infestations.
Step-by-Step Guide to Mold Remediation Using These Tools
Step 1: Gear Up with PPE
Your health is priority number one. Equip yourself with gloves, goggles, and a respirator.
Step 2: Contain the Mold
Use plastic sheeting and tape to isolate the affected area. Negative air machines can prevent spores from spreading.
Step 3: Scrub and Remove Mold
Utilize scrub brushes and cleaning agents to physically remove mold from surfaces. For stubborn areas, sandpaper can help.
Step 4: Dry and Dehumidify
Use dehumidifiers and fans to remove moisture. Aim for a humidity level below 50% to keep mold at bay.
Step 5: Filter the Air
Run a HEPA filter or air scrubber to capture lingering mold spores in the air.
Why Choose Professional Mold Removal?
While DIY mold remediation is possible with the right tools, hiring professionals ensures thorough removal and prevents future issues. Our team at Garland Mold Remediation offers expert services tailored to Arlington’s unique needs.
Learn more about our mold remediation process in Arlington.
Conclusion: Be Prepared for Mold Battles
Mold may be a formidable foe, but with the right mold remediation tools and supplies, you can keep your home safe and healthy. From HEPA filters to moisture meters, investing in proper equipment saves time, effort, and your property’s value. And if the task feels overwhelming, remember—professional help is just a call away!